

Fitting a Tailhead
 Clipping the Tail Head
It is important to clip the tailhead before fitting, since there are sure to be hair that needs done after you have clipped the body. Before starting to clip, be sure to form the tailhead back into a mohawk. If you are going to clip the tailhead after applying adhesives, be sure to wait until the adhesives are dry.
Preparing the Tailhead
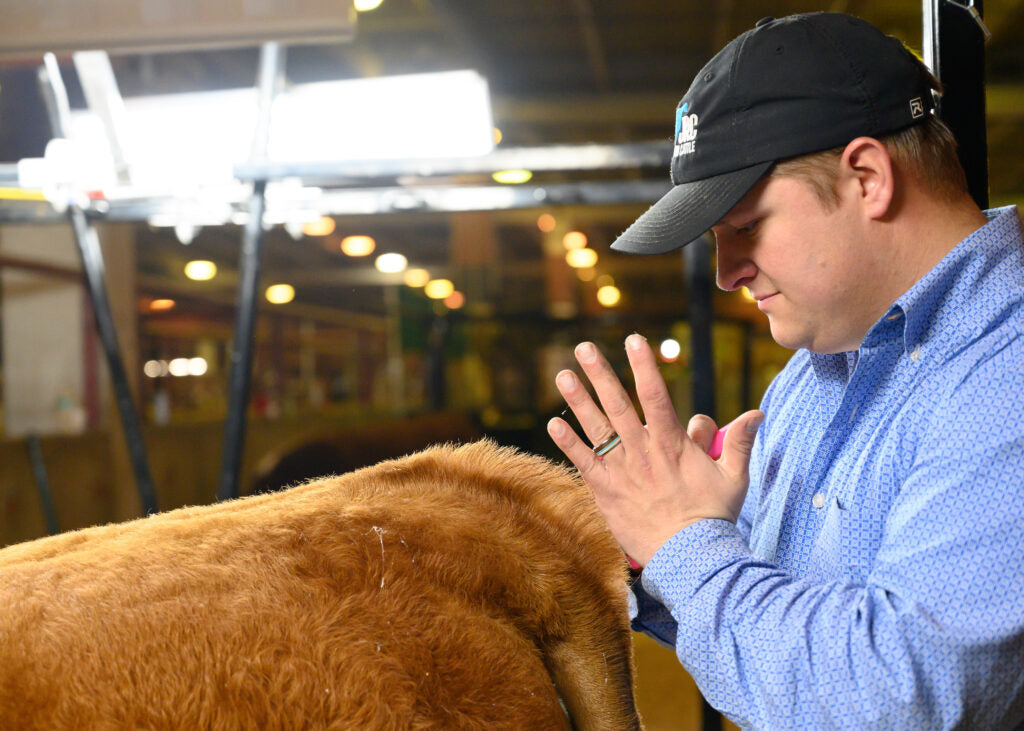
Your main goal of fitting the tailhead is to create as much separation of the hair as possible. A slicker brush is a great tool to use to separate the hair and comb it in an upwards direction. If the hair does not stand up on its own, you can spray a light amount of adhesive then brush the hair upwards with the slicker brush. The best thing to remember is: spray a little and comb a lot. Once the hair is standing, comb it again and quickly spray both sides of the tail head with firm adhesive. Standing at the hip of your calf while facing backwards will help minimize overspray from ending up on the body of the calf. Spray it from enough of a distance that the force of the aerosol does not force down the hair.
Bring it Together
Before your adhesive is able to dry, quickly go to the back of your calf. While using your fingers or the backside of a comb, lightly stroke the tailhead in an upwards direction. This will allow the hair to come together in line with the calf’s spine. Remember to do this lightly enough that the hair does not fall back down. Once this is accomplished, spray adhesive to help thicken the top of the hair (not the base of the tailhead).
Grab Those Scissors
Having scissors on hand is a good option when fitting the tailhead. Clippers or scissors will give the hair a crisp, clean line and bring the hair together. After adding adhesives to the tailhead, make sure that they are dry before clipping. On the back of the tail, cut straight up while following the line that was made while clipping. On the top, your tailhead should follow the line of the spine and intercept the imaginary line coming up from the tailhead. The middle should form a “corner” and be rounded off. Rounding the tailhead is currently the trend in today’s fitting.
Building the Tailhead
If you have a thin tailhead, you can alternate ProPowder and/or Firm Adhesive to help increase the diameter of the hair. Once you have built the hair to the desired thickness, make sure that no additional clipping needs done. If there is, it is important to finish all clipping before adding any paint. If you have a thicker tailhead, you can still follow the above instructions but lighten the steps. After the tailhead is dry, it is ready for paint! If there is any overspray on the calf, you can use ProPink or Sheen on the calf and comb in with a wide range brush. Lightly spray on each layer of paint rather than applying one thick layer. This will help create a natural look.

On the Road Again
If you have multiple shows in one day, you can use ProRefit to help break down adhesives. This allows you to be able to refit your calf for the next show. If you are done for the day, you can use ProRemover to breakdown adhesives and paint. Once this is complete, we recommend using ProCharge to help recondition the hair and skin. It is important to condition after stripping the adhesives and paint so that the hair does not get dry and flaky.
Products in this article:
Slicker Brush
Medium Adhesive
Firm Adhesive
ProPowder
Wide Range Brush
ProPink
Sheen
ProRefit
ProRemover